 One of the fun things to inspire creativity is to come up with a theme for routine tasks. I’ve read from a variety of sources that photographers spice things up by setting up a theme on a photo hunt. I believe there are times for freeform and exploration, but a theme can give a purpose rather than aimless shooting.
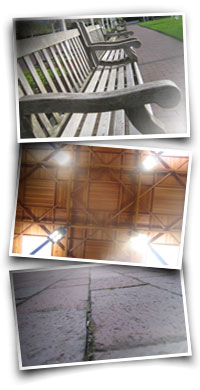
The weather was fairly nice in Beaverton in the afternoon, so Jenni and I took a light stroll near the Beaverton library with cameras in hand. While she was getting better acquainted with my digital rebel, I took the opportunity to photograph some patterns around me.
For the pictures on the right, I tried out a new technique of making them look like real photographs laying on a white surface. I came across a fun tutorial which described the process in Macromedia Fireworks, but I was able to adapt it to Photoshop CS2 easily. Here were my steps if you’re interested in reproducing the “look” of a real photograph.
- First I made a selection around the picture, with some space around the image.
- I created a new layer beneath the original image and filled it with white.
- For the shadow and highlights, I created a new layer above the original image.
- I chose the gradient tool and set it to fade to transparent.
- I dragged diagonally from the top left corner to the center of the image with black, and diagonally from the bottom right corner to the center with white.
- I lowered the opacity to the shadow and highlights layer to about 80%.
- Using the same selection as I made initially, I drag it downward about 1/3 from the top of the original image.
- Modified the selection to have a feather of 5 pixels (for the image size I was creating, 5 was enough, for larger images, you might need a bigger feather value).
- Using the paint bucket tool, I filled the selection with black for a shadow.
- Now the Photoshop CS2 part, I used the warp transformation and bent the shadow in the form similar to a chinese star. You can refer to the link of the original instructions for an illustration.
- Then I did another warp where created a small arc on the bottom and on the top. Again, refer to the original tutorial for a screenshot of what that looks like.
- I put all the layers into a group and then rotated the group slightly in one direction or another.
What I enjoy with the effect is that I don’t have to put in a solid line border around the picture like I use to. The shadows give the implied lines look. It’s softer and subtle.